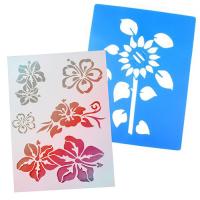
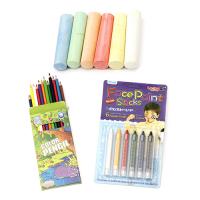
Drawing and Painting Art Supplies
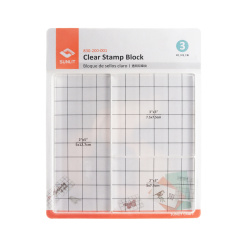
CLEAR ACRYLIC STAMP BLOCK Set / 5x12.7 cm, 5x7.5 cm, 7.5x7.5 cm - 3 pieces
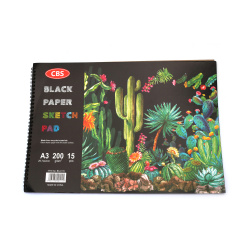
Sketchpad with Black Sheets, Spiral Bound, 200 gsm, A3 Landscape - 15 Sheets
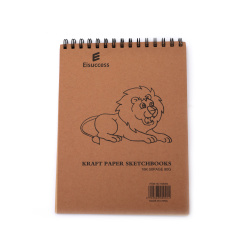
Sketchpad with Kraft Paper Sheets, 195x260 mm, Spiral Bound, 80 gsm - 50 Sheets
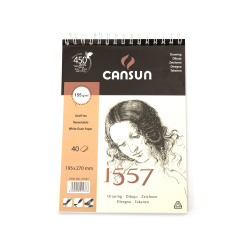
Sketchpad with Spiral Binding, 197x270 mm, Portrait, 155 gsm, Canson - 40 Sheets
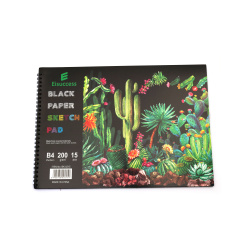
Sketchpad with Black Sheets, Spiral Bound, 200 gsm, B4 Landscape - 15 Sheets
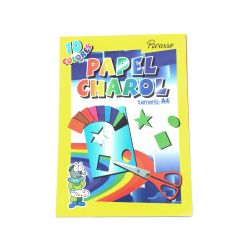
Glossy Pad, A4, with Self-Adhesive Sheets - 10 Colors x 1 Sheet Each
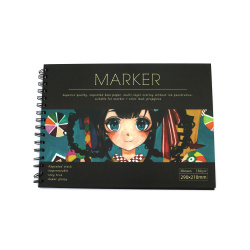
Sketchpad Suitable for Marker Drawing, A4, 130 gsm, Spiral Bound - 30 Sheets
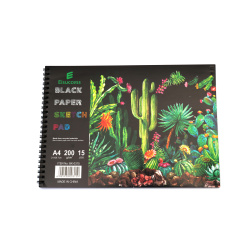
Sketchpad with Black Sheets, Spiral Bound, 200 gsm, A4 Landscape - 15 Sheets
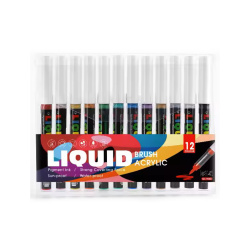
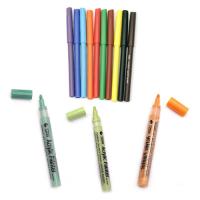
Waterproof Acrylic Markers, Suitable for Metal, Wood, Glass, Textile, Stone, and More - Set of 12 Colors
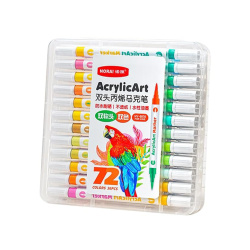
Set of Dual-Tip Acrylic Markers, Nora, Suitable for Paper, Metal, Wood, Glass, Textile, Plastic, and More - 36 Pieces, 72 Colors
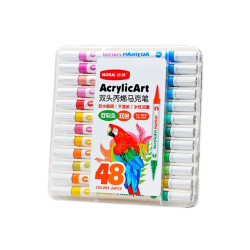
Set of Dual-Tip Acrylic Markers, Nora, Suitable for Paper, Metal, Wood, Glass, Textile, Plastic, and More - 24 Pieces, 48 Colors
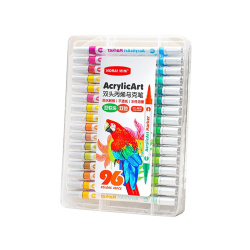
Set of Dual-Tip Acrylic Markers, Nora, Suitable for Paper, Metal, Wood, Glass, Textile, Plastic, and More - 48 Pieces, 96 Colors
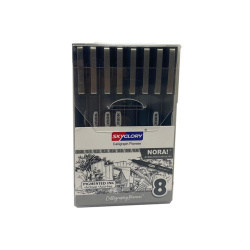
Calligraphy Fineliners from 0.05 mm to 0.8 mm, SkyGlory - Set of 8 Pieces
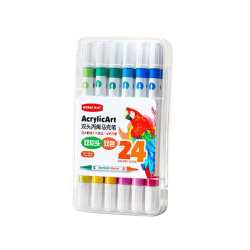
Set of Dual-Tip Acrylic Markers, Nora, Suitable for Paper, Metal, Wood, Glass, Textile, Plastic, and More - 12 Pieces, 24 Colors
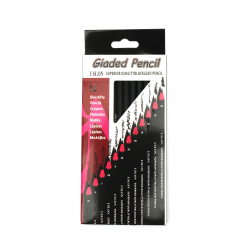
Set of Graphite Pencils 2H, H, F, HB, B, 2B, 3B, 4B, 5B, 6B, 7B, 8B - 12 Pieces
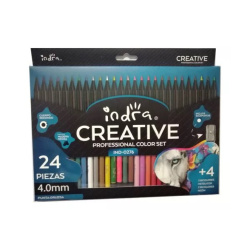
Colored Pencils Set 4 mm with Sharpener Creative - 24 Colors + 2 Double-Ended Neon and 2 Double-Ended Metallic Pencils - 30 Colors Total

Colored Pencils Set 4 mm with Sharpener Creative - 28 Pieces: 6 Neon, 6 Pastel, 6 Metallic, 6 Multicolor, 2 White, and 2 Black
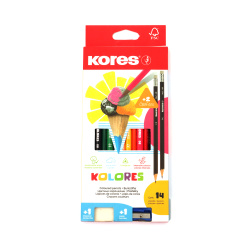
Colored Pencils Set with Eraser and Sharpener Kores - 12 Colors + 2 Graphite Pencils
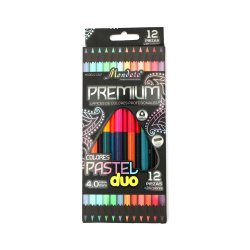
Mondete Dual-Tip Colored Pencils Pastel Colors 4 mm - 12 Pieces, 24 Colors
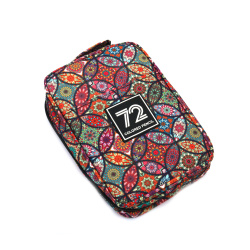
Professional Colored Pencils with Color Chart in Textile Case - 72 Colors
What Drawing Materials Does EM ART Offer and How to Use Them?
In this category, you will find a wide range of drawing materials such as various:
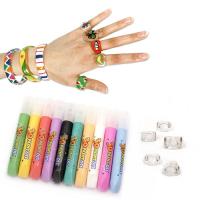
- 3D contours
- markers
- pencils
- pastels
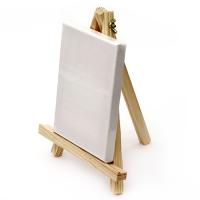
- canvases
- drawing bases
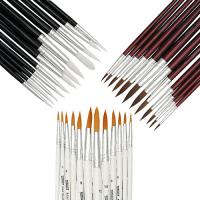
- brushes and rollers
- stencils
With their help and a bit of imagination, you can:
- create beautiful works of art
- decorate clothes, home items, cards, invitations, photo frames, scrapbooking projects
And generally bring all your ideas and projects to life.
3D Contours, Their Purpose, and Tips for Use
3D contours for decoration and drawing have many, really many applications, some of which are:
- Glitter contours are most suitable for Christmas, Easter, and other festive decorations.
- Decoration of albums and photo frames, as well as scrapbooking projects, decoupage, etc.
- With neon and pearl ones, you can decorate your cards, tags, and also make beautiful birthday invitations.
- Stained glass contours are suitable for decorating glass.
- With fluffy 3D pastes, you can decorate textiles like t-shirts, backpacks, and others. An important point for textiles is that to seal the image well, it is good to fix it with an iron, and when washing, turn it inside out.
- They are suitable for drawing small details, writing inscriptions, or placing decorative pearl drops.
Note that regardless of the surface you use for decoration, it should be left to dry naturally at room temperature, so that the applied contour retains its three-dimensional effect after drying.
A Few Tips for Working with 3D Contours
- It is very important before you start to make sure that the surface you will be decorating is clean and completely dry.
- Depending on how much paint you have applied, the time it will need to dry completely is about 6 to 24 hours.
If you decide to use the contours for textile decoration:
- When decorating textiles (or other similar fabrics with no more than 20% synthetic fibers), it is good to gently press the tip and squeeze the tube for your convenience.
- It is recommended that the fabrics you will be decorating not be pre-washed with fabric softener.
- Once the product is completely dry, fix the fabric with an iron without steam for about 2-3 minutes. Iron from the reverse side on a soft pad until the contour dries and starts to acquire a matte look;
- Wash and iron the textile inside out.
- When heated, the paint swells; other options for fixing besides the iron are heating with a hairdryer or in a preheated oven at about 150 degrees Celsius for no more than 5 to 15 minutes.
How to Create Beautiful Decorations with Markers?
Why not diversify and decorate items at home and turn them into real masterpieces? For this, you will only need a bit of dexterity, imagination, and of course markers.
For the upcoming project, you will only need:
- A cup, plate, or a glass bottle to turn into a beautiful and effective vase
- Markers for drawing on porcelain or permanent ones
If you wish, you can also use interesting stencils that you can find here in the same category “Drawing Materials”. Or let your imagination run wild and create without additional auxiliary materials.
Before you start decorating, it is good for the selected item to be well washed with detergent and warm water to completely remove any excess dust. Then thoroughly dry it and make sure that the surface you will be drawing on is not wet, dusty, or greasy. All of this is extremely important for how long-lasting your decoration will be over time.
Before you start drawing with the marker, it is advisable to gently shake it to mix the ink well. If you are using a permanent marker, after you finish decorating, you may still want to wait some time before using the item.
If you have decided to use a marker for porcelain, it is good to first bake the decorated item in the oven. If this is really necessary, it will be clearly stated on the packaging, so don’t worry!
Finally, you will enjoy your beautiful creation, which you can:
- use with pleasure
- decorate your home with it
- give as a gift to a friend or relative
Another interesting idea for decorating with markers is to decorate Easter eggs with colorful markers. This is a pretty interesting and clever idea, as instead of getting messy with egg dyes, which are often quite toxic, you can decorate them with colorful markers.
You can draw whatever you like and add additional elements like:
- sequins
- glitter
- colored sand
- various pencils
- pastels
And to make it even more fun, involve the children in the whole process.
A Little More About Pencils and Pastels
Pencils and pastels stand out with their variety and rich range of colors and brands.
Pastels date back to the 80s of the last century, and their name is of Italian origin, meaning chalk or colored pencil.
They are divided into several types:
- dry pastels
- soft pastels
- hard pastels
Colored pencils, in turn, also have several varieties, as they differ depending on whether they are intended for use by children or those suitable for professional artists.
Professional artist pencils are found in sets of 72, 120, or even more colors. Interestingly, they can also be purchased individually, depending on which exact color the artist needs for their creative purposes.
Children’s pencils, on the other hand, are of lower quality, do not have such high-quality pigments, and the colors they can be found in are not as many. They usually range up to a maximum of 24 or 36 colors.
On the market, and also with us, you can find so-called watercolor pencils or also known as water-soluble pencils. They are the best choice because they can be used as regular pencils when dry, and when wet, they create a watercolor effect.
Another type of colored pencil is pastel pencils, which are harder and can be used both in combination with other types of colored pencils and completely independently.
Here on the site, and also in all our physical stores you will find a variety of canvases and drawing bases, made from high-quality materials. Sketchbooks in different formats, watercolor paper, which is much thicker than classic paper, drawing boards, colored cardboard, pre-stretched canvases and panels, professional sketch albums, easels with tripods, and more.
Of course, what’s a canvas and paint without a brush? We have prepared a wide range of brushes and rollers for painting. They can be purchased both in complete sets and individually.
We have a large variety of brushes:
- round
- flat
- with natural or synthetic bristles
- fiber synthetic brushes
- for professionals
- for amateur artists
Pallets, various tools for creating additional decorations from VA, fine applicators, tools for working with wax, sponge brushes, painting cups, sponge rollers, and many others.
How to Take Care of Paint Brushes to Make Them Last Longer?
- After washing the brush, immediately pull and shape the bristles;
- Let the brush dry naturally, without external heat like stoves or hairdryers;
- If you have used oil paints, thoroughly clean the brush with a cloth and place it in turpentine, then wash it with soap and water;
- When using acrylic paints or others that are water-based, it is necessary to wash off the paint immediately after use;
Stencils are last in the current category, but by no means least important. They are an additional element with which you can achieve even more impressive and wonderful decorations and drawings. Their use is extremely easy, they can even be used by children, and the results are truly impressive.
Decorative stencils can be used with many techniques, one of which is the embossing technique, and in this case, it is good to use embossing stencils.
Briefly, we will explain what the embossing technique is. It involves pressing two plates onto the surface of the selected material for decoration. Contrary to expectations, the relief of the plates does not leave an imprint, but simply raises the surface, thereby adding an additional dimension to it.
This is a very elegant and fine technique that skillfully changes the nature of the material used. Often, the embossing technique does an excellent job of creating new quality standards for the product to which it is applied, compared to many other printing methods.
This technique is quite popular in some industries, such as:
- Technology Industry - Some technology industries that sell mobile phone accessories may also use the embossing method to create a more aesthetically pleasing look and feel.
Some of the main mobile phone cases sold worldwide contain embossed images.
- Cosmetic Industry - The cosmetic industry tends to use the embossing method in the packaging of its products. One of the reasons is that the appearance of embossing creates a luxurious look, which appeals to most buyers, even if the product is not as expensive as it seems.
- Music Industry - Many artists in the music industry also use embossing for their CD covers. This helps the artist to look more established in the music industry, even if they are just starting out.

